Recoat or Replace? Waiting for Certainty Is the Most Expensive Choice You Can Make
How to tell if your aging foam roof needs a recoat, a partial tear-off, or full replacement, and why every month you wait raises the final price.

Part 2 of 3 in the series Before the Foam Fails: An Older-Home Owner's Guide to Foam Roof Replacement.
Last time we walked the roof looking for chalk, blisters, pinholes and bare yellow foam. Now comes the harder part: deciding what those findings actually cost you.
This series was developed with insights from Durafoam Roofing, whose crews spend their days opening up aging foam systems on homes built long before spray polyurethane was common, and who have seen how often a small delay turns a simple job into a large one.
Here is the uncomfortable truth about foam roofs: there is no moment where the roof announces itself. It does not leak on a schedule. It can look tired for three years and stay dry, then fail across 600 square feet in one storm. Homeowners wait for proof, and proof is exactly the thing that costs the most money.
The three real options are a recoat, a partial tear-off with new foam in the damaged zones, or a full removal and rebuild. Which one you get is not up to you. It is decided by how much water is already inside the foam.

How Much Water Is Already Inside
Closed-cell polyurethane foam resists water right up until the coating opens and the cells at the surface start absorbing. Once moisture gets past that top layer, it travels sideways through the foam, not straight down. That is why a leak in your hallway may start from a pinhole twelve feet away near the parapet.
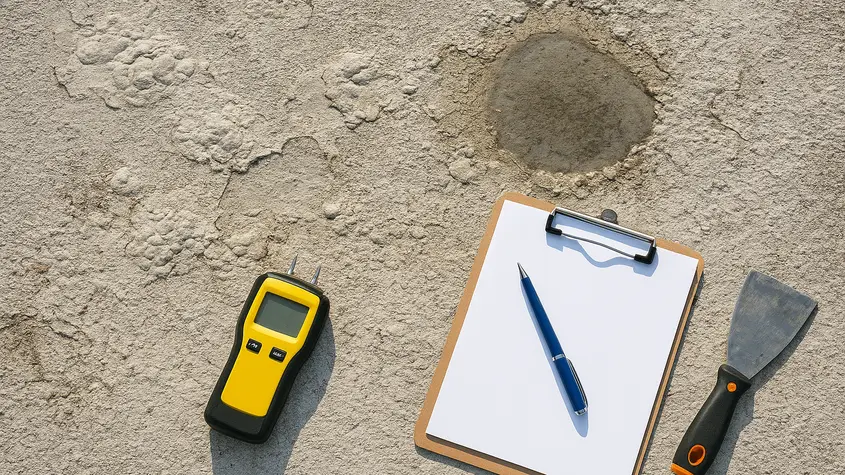
A good inspector is not guessing. They cut small core samples and check them, and often scan the deck with infrared or a moisture meter after sundown, when wet areas hold heat differently than dry ones.
What the samples tell you
- Dry foam, intact coating, minor chalking: recoat territory. Clean, prime, repair pinholes, apply new coating at proper mil thickness.
- Wet foam confined to defined areas under about 25 percent of the roof: cut those sections out, rebuild them, then coat the whole roof as one system.
- Wet foam scattered across a third or more of the surface: a recoat here is money set on fire. You are sealing water against your deck.
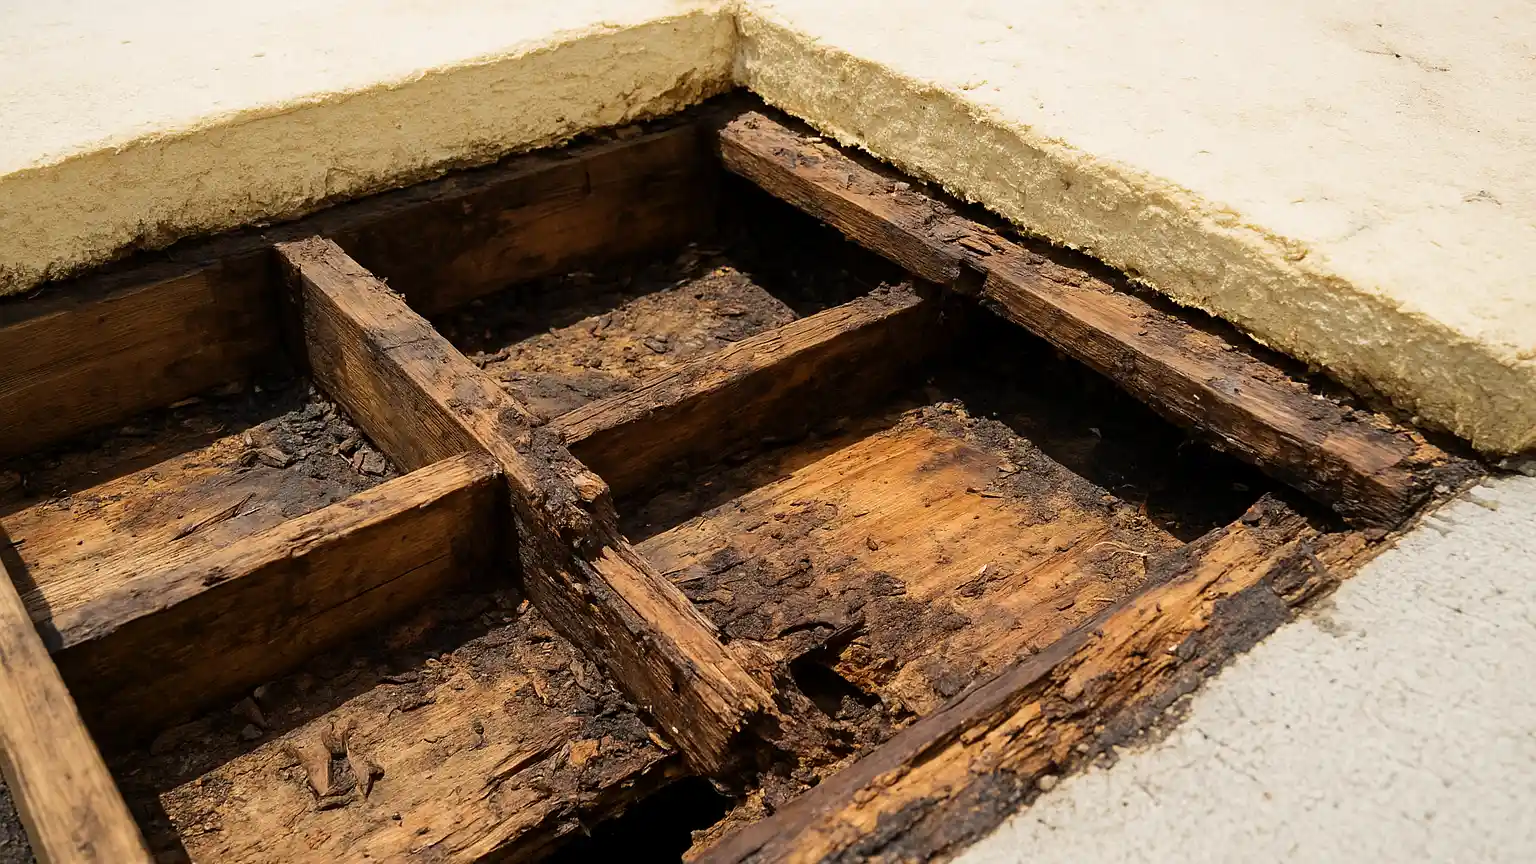
- Soft, crumbly, or blackened foam at the deck line: full tear-off, and plan for sheathing repair.
The dividing line is not the roof's age. Plenty of twenty-year-old foam is bone dry because someone recoated on time. Plenty of nine-year-old foam is soaked because nobody did.
Pro Tip:
Never Coat Over Water
If you take one thing from this article, take this. A coating is a vapor-resistant skin. Put it over saturated foam and you have built a sealed bag around the wet material. Summer heat turns that trapped moisture into vapor, the vapor expands, and it lifts the new coating off in bubbles the size of dinner plates. That is a big part of why foam roof bubbles keep reappearing on roofs that were supposedly just serviced.
So when a bid comes in noticeably cheaper than the others and calls for a straight recoat on a roof with visible staining inside, ask what moisture testing was done. If the answer is a visual walk, you are buying two years, not fifteen.
What Sits Under a Mid-Century Roof
On a home built in the last twenty years, a foam replacement is fairly predictable. On a house from the fifties, sixties or seventies, the roof is only half the story. Those homes were often framed with true dimensional lumber, then sheathed with plank decking, gypsum panels, or lightweight concrete fill. Some had a built-up tar and gravel roof first, and the foam went on top of it in the eighties. Open up a wet section and you may find two or three previous systems stacked underneath, each one holding water.
Common surprises on older structures include:
- Plank decking with gaps that let insulation and debris fall into the ceiling cavity during tear-off
- Rafters that sagged decades ago, creating ponding spots the original builder never planned for
- Parapet walls with failed cap flashing that has been feeding water into the wall, not the roof
- Old drain bowls set too high, so the low point of the roof is nowhere near the drain
- Vent and swamp cooler penetrations that were foamed around instead of properly flashed
None of these are reasons to panic. They are reasons to have the structure evaluated before you sign anything, and the same principle applies to any hidden moisture problem, which is why the slow damage described in the silent swell of a bathroom wall follows an almost identical pattern.
Pro Tip:
How the Bill Multiplies
Cost on a foam roof does not climb in a straight line. It steps. Step one is a recoat: cleaning, patching, two coats of elastomeric, and granules. Reasonable, and it resets the clock for a decade or more. Step two is a partial tear-off, which adds saw cutting, disposal, new foam, and blending the transitions, roughly double per affected square foot. Step three is a full replacement with deck repair, which brings dump fees, sheathing, sometimes framing, and interior drywall and ceiling work if it went that far.
The multiplier happens because wet foam does not stay put. Guidance from the crews at Durafoam has been consistent on this point: a saturated area left through one wet season is rarely the same size the following spring. It spreads outward along the deck, which is why waiting for certainty almost always costs more than acting on the early signs. The roof that needed 400 square feet of cutout last year now needs 1,100, and the deck under it is no longer salvageable.

Get These Answers in Writing First
A written proposal that says "recoat roof" is not enough information to make a decision on an older home. Ask for specifics.
- How was moisture confirmed? Core samples, meter readings, or infrared, with locations noted.
- What mil thickness of coating, and how many coats? Dry film thickness matters more than brand.
- What happens if the deck under the cutouts is bad? Get a unit price in writing now, not a change order later.
- How will drainage be corrected? Tapered foam at low spots is one of the real advantages of this system.
- What is the recoat interval on the warranty? Almost every foam warranty assumes future maintenance.
If you have been putting off the inspection, the earlier walkthrough in foam roof is losing its gives you a starting point you can do from a ladder in twenty minutes. And once you know a replacement is the answer, sequencing matters, because tear-off, deck repair, spray application and coating cure windows all have weather limits, which is exactly what get the foam down before covers next.
Certainty Is the Thing You Pay For Twice
The homeowners who spend the least on foam roofs are almost never the ones who acted on proof. They acted on a pattern: chalking coating, a few blisters, a stain that dried out, a roof past its recoat window. They recoated while the foam was still dry and paid the smallest number on the menu. The ones who spend the most waited for a leak, and by then water moving sideways through their insulation had already made the decision for them.
Get core samples pulled. Find out how much of your foam is wet, and where. If it is dry, recoat it this season and stop thinking about it for another decade. If it is wet in pockets, cut those pockets out while they are still pockets. If it is wet across the field, budget for the full rebuild and be glad you found out before the ceiling did. On an older home, the roof and the structure under it are one conversation, and the sooner you have it, the shorter and cheaper it stays.