Before the Foam Fails: An Older-Home Owner's Guide to Foam Roof Replacement
A three-part guide for older homes with aging spray foam roofs: spot coating failure early, choose recoat or replace, and get the new foam done right.

Foam roofs rarely announce their own failure. They chalk, thin out, and go soft in small patches while the ceiling below stays perfectly dry, right up until the week it does not. This series is for the homeowner standing in the driveway looking at a roof that was sprayed fifteen or twenty years ago, wondering how much time is actually left.
Older homes make that question harder. Decks have been patched by three different crews, parapets have settled, drains sit slightly high, and the original foam may be sitting on a substrate nobody has seen in decades. A newer building gives you a clean recoat decision. An older one gives you layers, surprises, and a much shorter window between "still fine" and "now it is structural." The technical input for this series came from the crews at Durafoam Roofing, who spend their days opening up aging foam systems and finding out what is underneath. Their field experience shaped how each stage below is framed.
Across the parts below, the goal is simple: help you read your own roof honestly, make the recoat or replace call before water decides for you, and understand what a real replacement involves so you can judge a bid instead of guessing at one.
From Chalky Coating to New Foam
The first stretch of the series stays on the roof surface, because that is where the timeline is written. A healthy foam system is protected by a coating that sacrifices itself slowly to sun and weather. Once that coating goes chalky, wears thin at the high spots, or splits open around blisters and pinholes, the foam underneath starts absorbing every drop that lands on it.
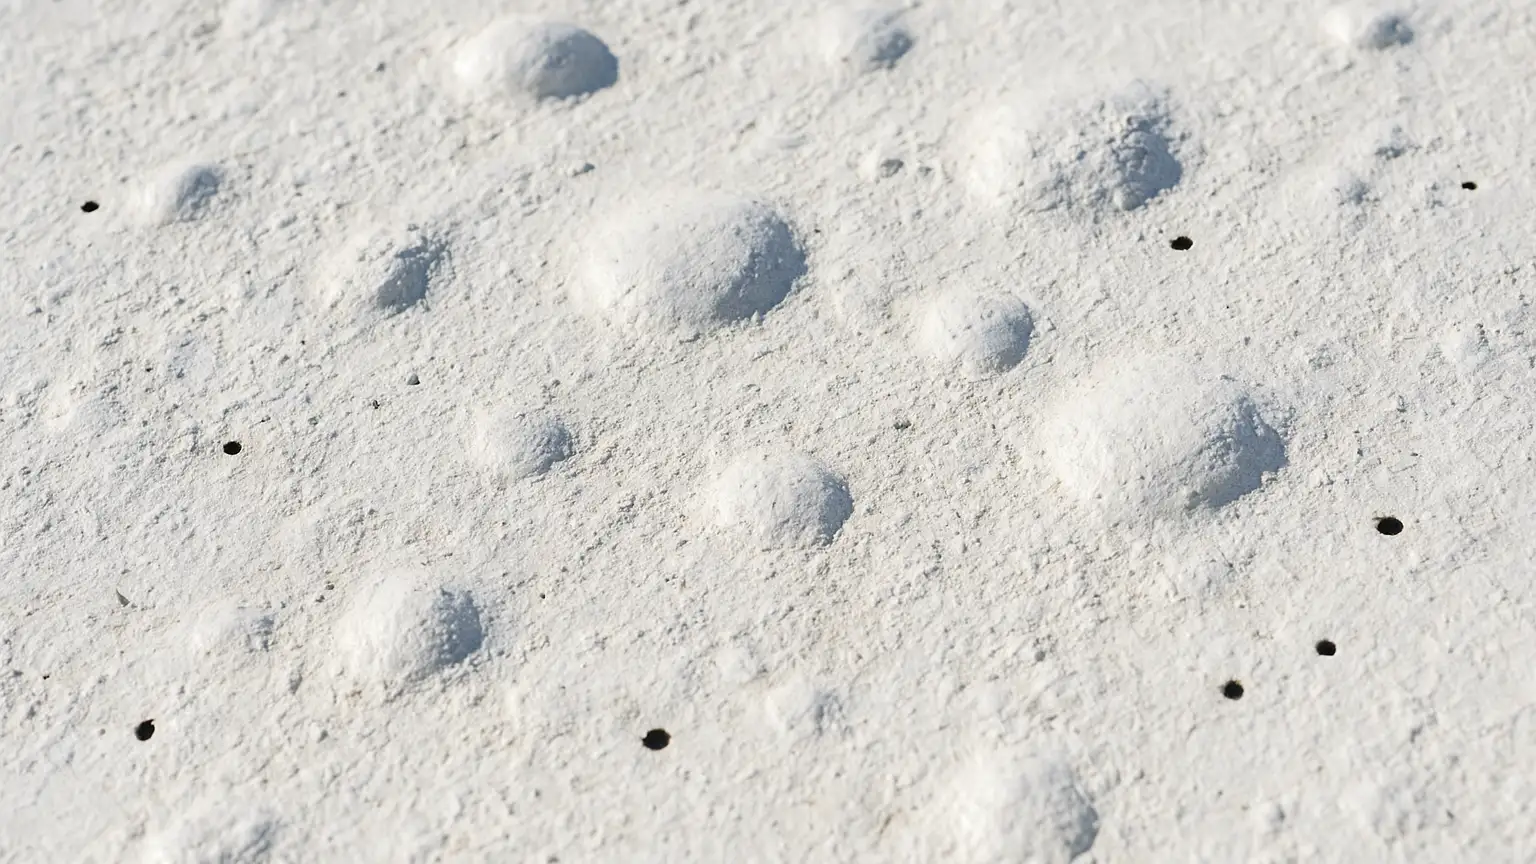
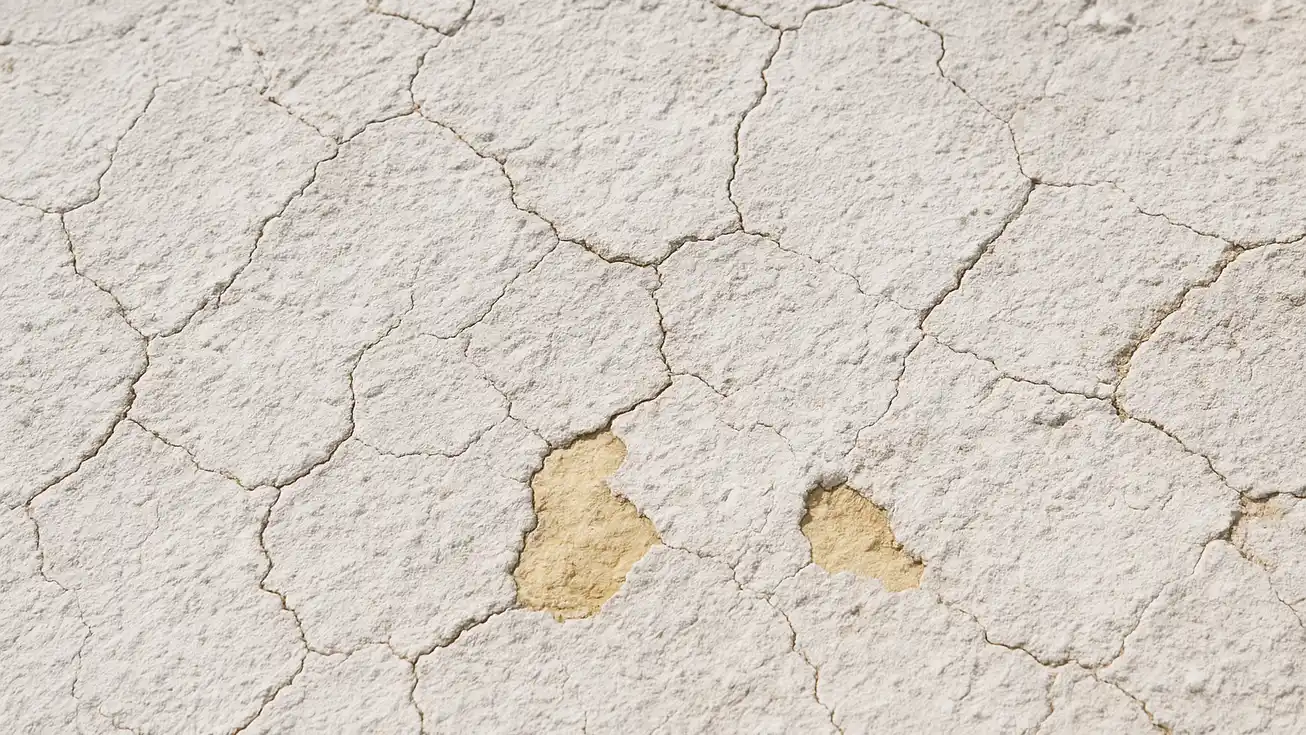
Part one walks through the visual signals that matter most on an aging roof: white chalking that rubs off on your hand, soft spots underfoot, ponding that never fully dries, and exposed yellow foam where the coating has given up entirely. It also explains why raised blisters deserve attention rather than a quick smear of mastic, a point covered well in this breakdown of foam roof bubbles and what causes them to keep coming back.
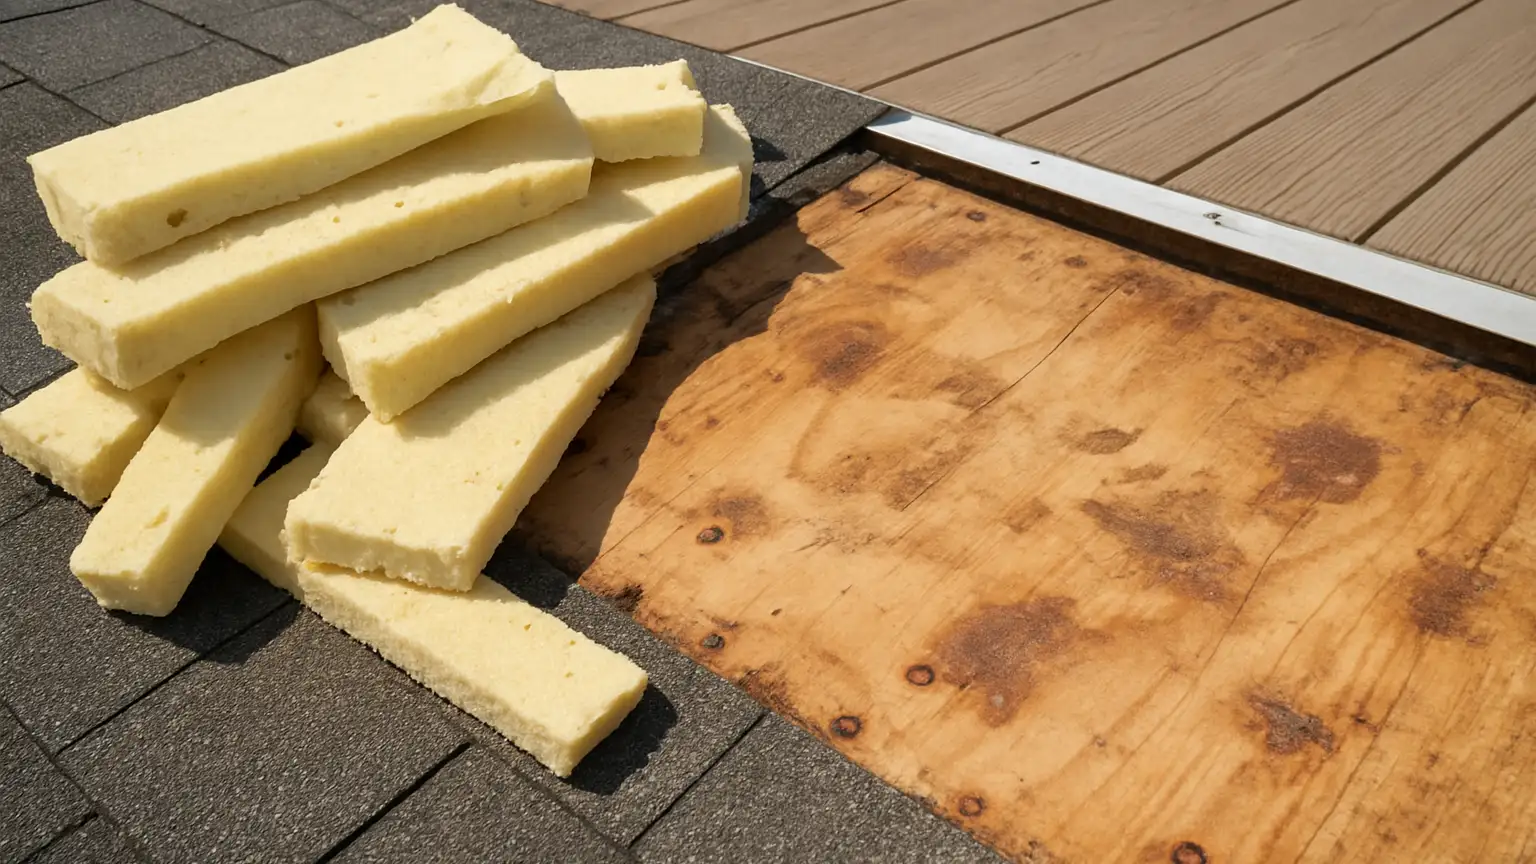
The reason this part comes first is cost. Uncoated foam does not fail evenly. It wicks water sideways, so a small opening in spring can mean several saturated feet by late summer, and the repair scope grows with it.
<<Pro Tip:
Quick Checks Worth Doing Yourself
You do not need to walk the roof to gather useful information. From a ladder at the edge, or from photos taken on a pole, look for:
- Color change: gray or yellow showing through white coating
- Texture: a gritty, powdery surface instead of a smooth film
- Standing water more than 48 hours after rain
- Cracks or gaps where the foam meets walls, curbs, and vents
Date your photos. A year-over-year comparison tells you more than any single inspection.
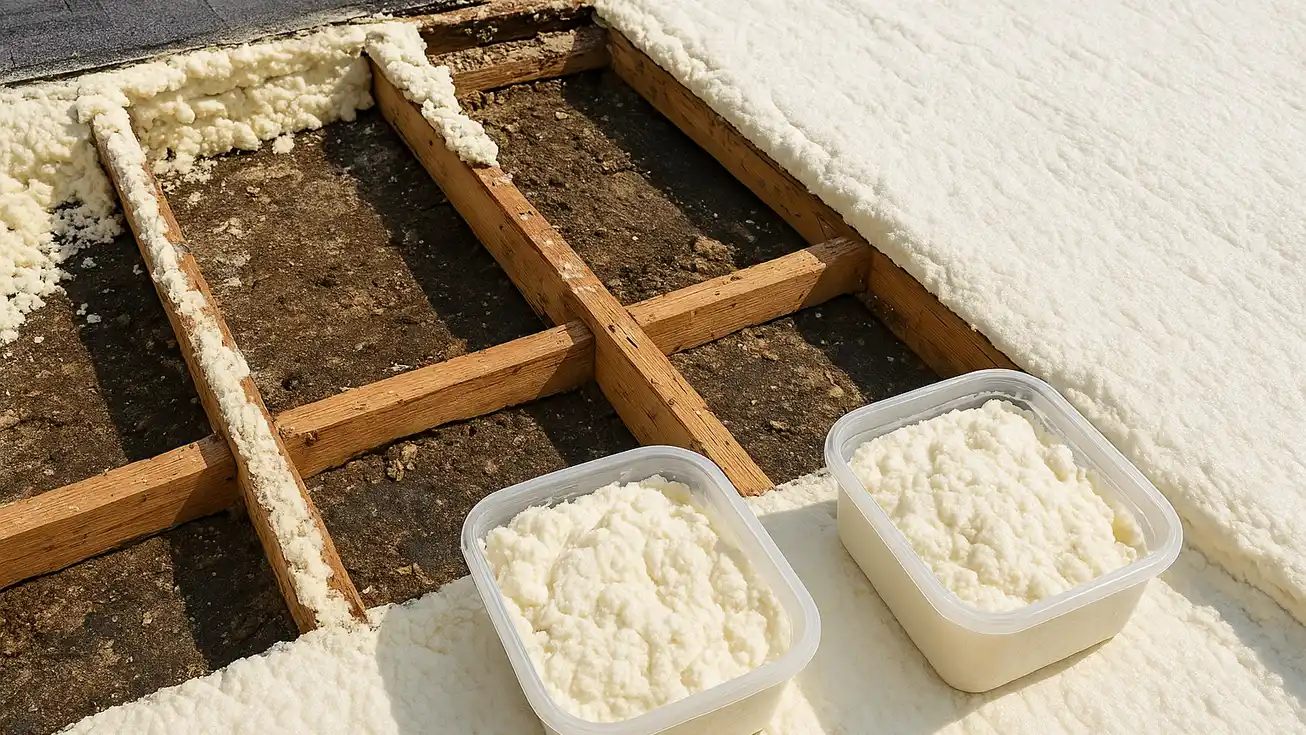
Part two handles the decision most homeowners stall on. Recoating a sound foam roof is the cheapest good outcome available, so it is worth chasing, but only if the foam is genuinely dry. Once moisture has saturated a meaningful share of the substrate, coating over it seals the water in and buys you nothing except a smoother surface above a slowly rotting deck.
This part lays out the saturation threshold that separates a recoat from a partial tear-off, and a partial tear-off from a full replacement. It also covers the quirks older structures bring to the table: mixed roof geometry where the difference between flat and pitched roofs changes how water moves, undersized framing, prior patch layers, and decking that has already taken one round of moisture.
The theme here is that waiting is not a neutral choice. Every month of delay expands the wet area, and saturated foam turns a straightforward job into deck replacement and framing work. That is also how homeowners end up needing emergency leak repair during the worst possible week of the year instead of scheduled work on a dry calendar.
Pro Tip:
Ask for the Moisture Map
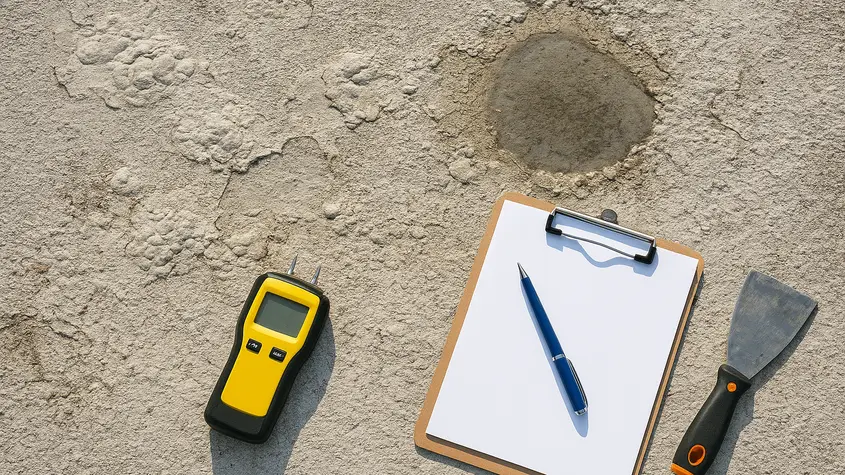
Any contractor recommending a full replacement should be able to show you where the wet foam is, not just tell you it exists. Core samples, infrared scans, or marked-up roof diagrams all count. If the evidence is vague, get a second opinion before signing.
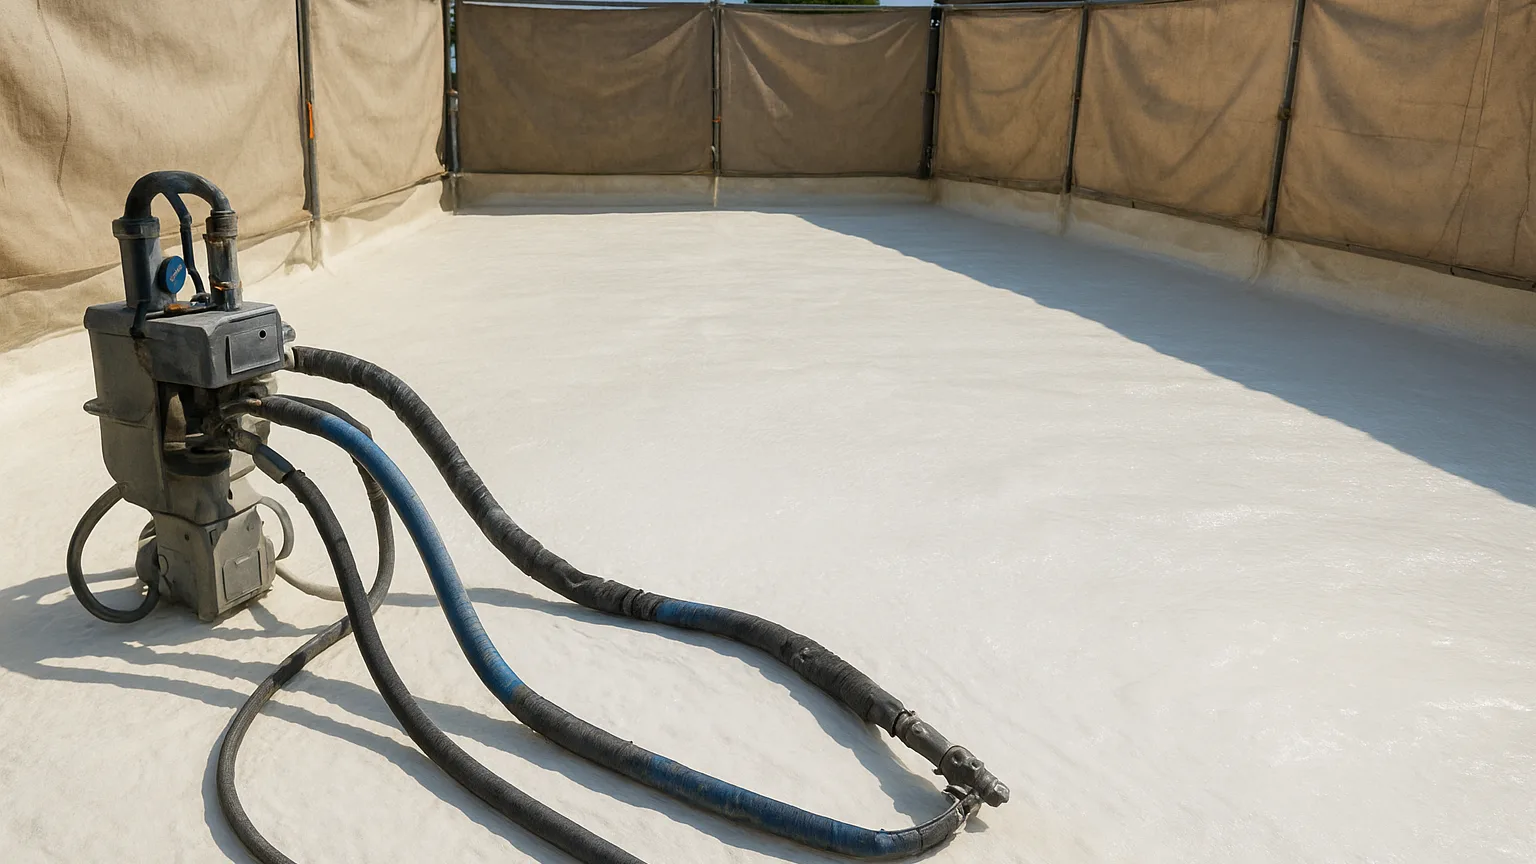
The third part follows the work itself, start to finish. Tear-off comes first, then deck inspection and repair, which is the stage where older homes produce most of their surprises and most of their change orders. Understanding that sequence helps you read a bid and spot which contractors have priced honestly for unknowns.
From there it covers spray application: why ambient temperature, humidity, and wind all limit when foam can be applied, how thickness and slope are built in, and why the coating needs a real cure window instead of a rushed same-day finish. Weather timing is not a scheduling preference here, it is a quality issue.
The part closes on the piece that keeps you off this cycle for good. A foam roof is a maintainable system, and a simple inspection and recoat schedule can extend it for decades. Homeowners who skip that schedule are the ones reading part one again in twelve years.
Pick Your Starting Point
Read straight through if you are not sure where your roof stands. Part one gives you the language to describe what you are seeing, part two turns that into a decision, and part three shows you what happens once the decision is made and the crew arrives. Together they cover the full arc from first chalky patch to a roof you maintain on a schedule instead of react to in a storm.
If you already know your situation, jump in where it fits. Homeowners who have just noticed exposed foam or ponding belong in the first part. Those holding two conflicting bids, one for a recoat and one for a full replacement, will get the most from the second. And if the work is already scheduled, the third part will tell you what a good job looks like while it is happening, and what to do for the twenty years after.