Get the Foam Down Before the Weather Turns — What a Replacement Actually Involves and How to Protect It for Decades
A day-by-day look at foam roof replacement on an older home: tear-off, deck repair, spray depth, coating cure windows and the recoat schedule.

Part 3 of 3 in the series Before the Foam Fails: An Older-Home Owner's Guide to Foam Roof Replacement.
Part two ended with a decision: recoat, patch, or take the whole thing off. If moisture readings pushed you toward full replacement, the practical questions are what happens up there, how long it takes, and what separates a roof that lasts twenty-five years from one that starts chalking again in six.
This series was shaped by the field experience of Durafoam Roofing, whose crews work on older homes where the deck under the foam rarely matches the original plans.
Why Timing Beats Everything Else
Spray polyurethane foam is chemistry, not carpentry. It needs a dry substrate, a workable air temperature, and low wind. Miss those and the foam either fails to bond or blows off the roof as overspray onto your neighbor's truck.
A replacement scheduled ahead of the weather turn gives the crew dry days and lets the coating cure fully before the first heavy rain. Pushed into a wet stretch, the same job becomes tarps, delays, and an exposed deck. If you already spotted the early warning signs covered in foam roof is losing its, book early rather than waiting to see how bad it gets.
What the Old Foam Was Hiding
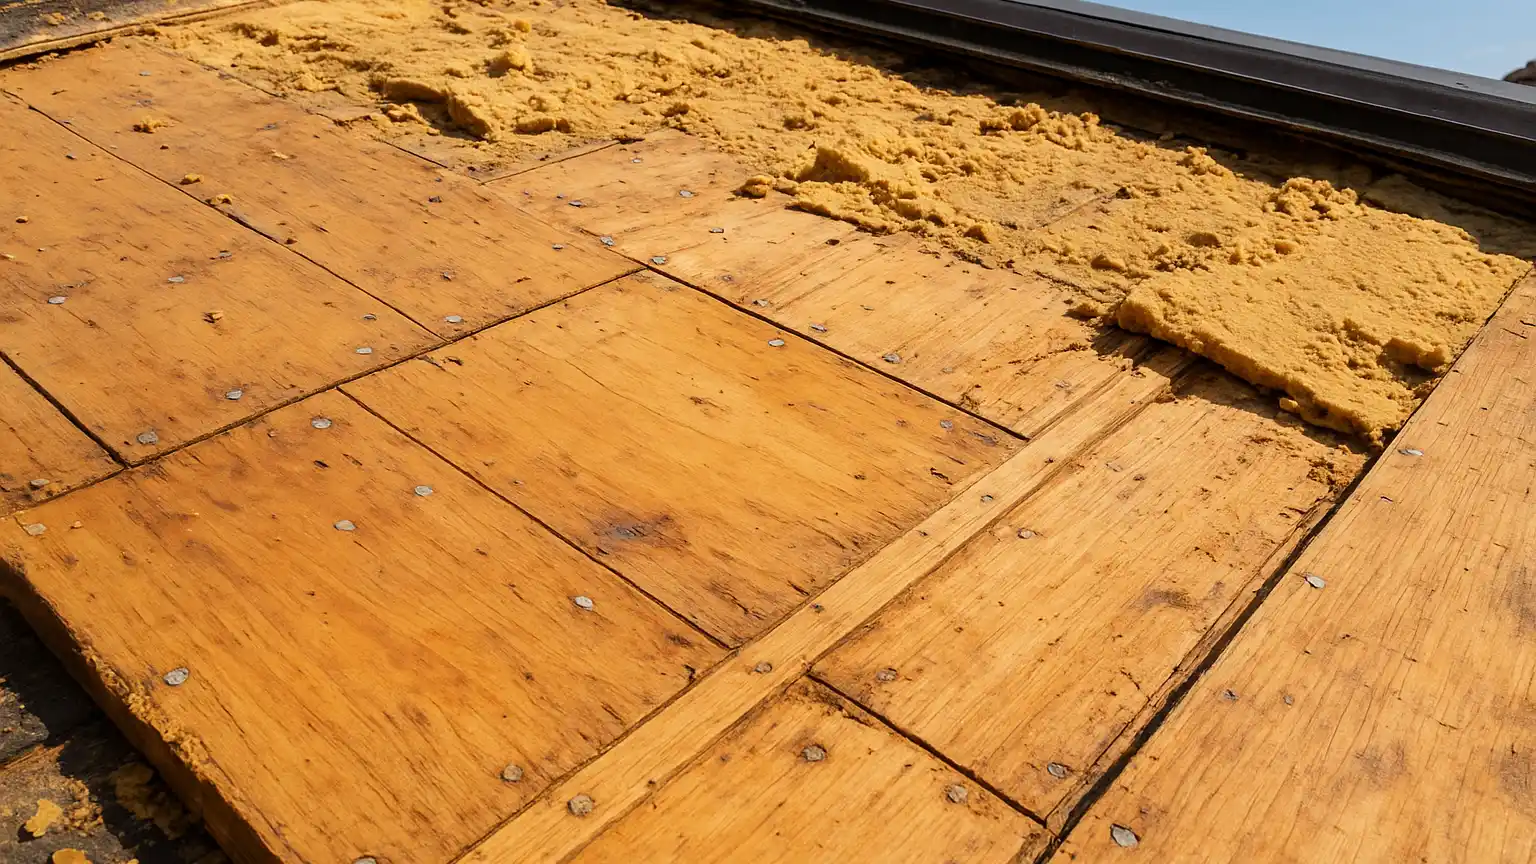
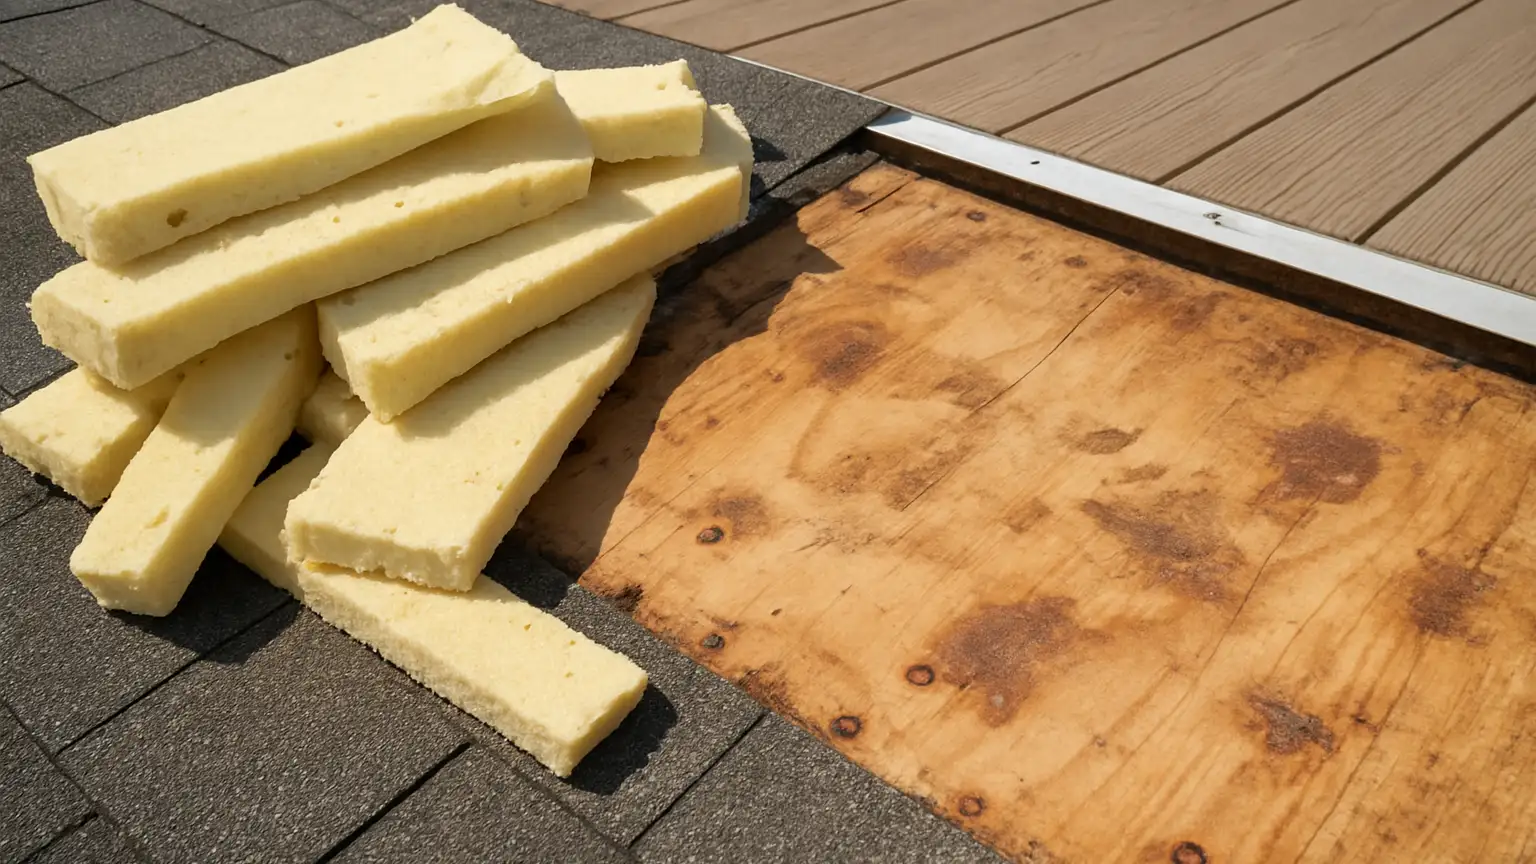
Removal is loud, dusty, and faster than most homeowners expect. Crews cut the old foam into strips and pull it back in sections, usually down to the original deck. On a saturated roof the foam comes up heavy and dark, and that weight alone tells you how much water the assembly was holding.
What shows up underneath is the real story. Common finds on older homes include:
- Soft or delaminated decking where water sat under the foam for years
- Fastener rust and loose sheathing that never had a chance to dry out
- Old built-up roofing layers nobody knew were still there
- Undersized or notched framing from a long-ago addition
- Parapet cracks hidden behind the foam edge
None of that is a disaster if it is found on tear-off day. It becomes one when it is found after new foam is already sprayed over it, which is why the saturation threshold discussed in recoat or replace? waiting matters before you commit to a scope.
Deck Repair Comes First, Always
Rotted sheathing gets cut out and replaced with matching material. Low spots that caused ponding get corrected with tapered fill or added crickets so water actually moves toward the drains. Skipping this step is the single most common reason a new foam roof underperforms. Foam follows the shape it is sprayed onto: give it a bowl and it will hold a puddle for the next two decades.
Pro Tip:
Ask for Photos Before the Foam Goes Down
Once the foam is sprayed, the deck is invisible again. Ask your contractor for date-stamped photos of the bare deck, the repaired sections, and the drain areas before application starts. It costs the crew ten minutes and gives you a permanent record of what was fixed.
Keep those images with your closing documents. If you sell, they answer a buyer's inspection questions faster than any warranty certificate, and they prove the difference between a real replacement and a cosmetic one.
How the Foam and Coating Actually Go On
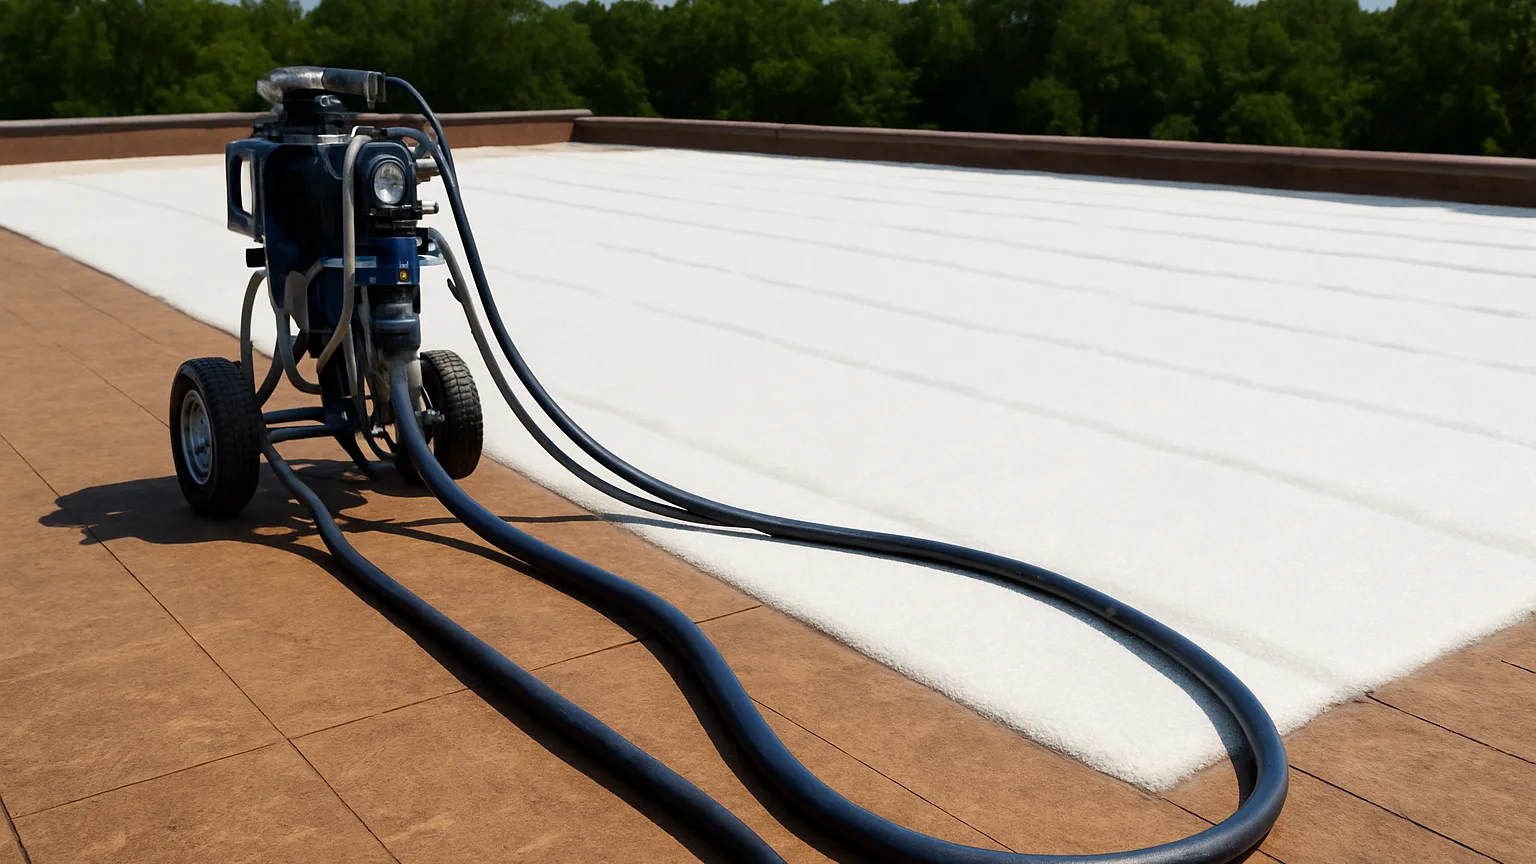
Foam goes down in passes, half an inch to an inch at a time, building to about one and a half inches on most residential roofs, and it firms up within seconds. A skilled applicator leaves an even, orange-peel texture; a rushed one leaves ridges and popcorn, and those rough spots become thin spots in the coating later.
Edges and penetrations get extra attention: vent stacks, skylight curbs, swamp cooler pans, and parapet transitions all get built up so water sheds instead of collecting. On older homes with additions, the seam where the old roof meets the newer section is the first place a leak shows up years later, so crews often build that area slightly higher.
The Coating Is the Part That Actually Lasts
Foam is the insulation and the slope; the elastomeric coating is the weatherproofing, typically two coats, base and top, with granules broadcast into the wet top coat for UV and foot-traffic protection. Most acrylics need several hours to set and a full day or more to cure hard, and dew or rain during that window can wash the coating right off the foam. A good crew watches the forecast and stops early rather than gambling on an afternoon storm, a discipline that keeps homeowners from needing emergency roof leak repair a week after a brand new roof goes on.
What the Schedule Usually Looks Like
- Day one: tear-off, debris haul, deck inspection
- Day two: deck repair, slope correction, prep and masking
- Day three: foam application and detail work
- Day four: base coat, top coat, granules
- Day five: cure, cleanup, final walkthrough
Pro Tip:
Protect the Roof From Your Own Household
New foam is soft for the first few days. Keep everyone off the roof, and warn any HVAC or satellite tech who might climb up before the coating has hardened. A single heel dent that breaks the granule layer is a pinhole waiting to happen.
Long term, add walk pads anywhere service work happens regularly. Roof-mounted units get visited often, and the path from the ladder to the unit takes more abuse than the rest of the roof combined. The same logic applies to any older assembly you cannot see into, whether that is a roof deck or the hidden framing behind a silent swell in an exterior wall.
Keeping It Alive on a Coating Schedule
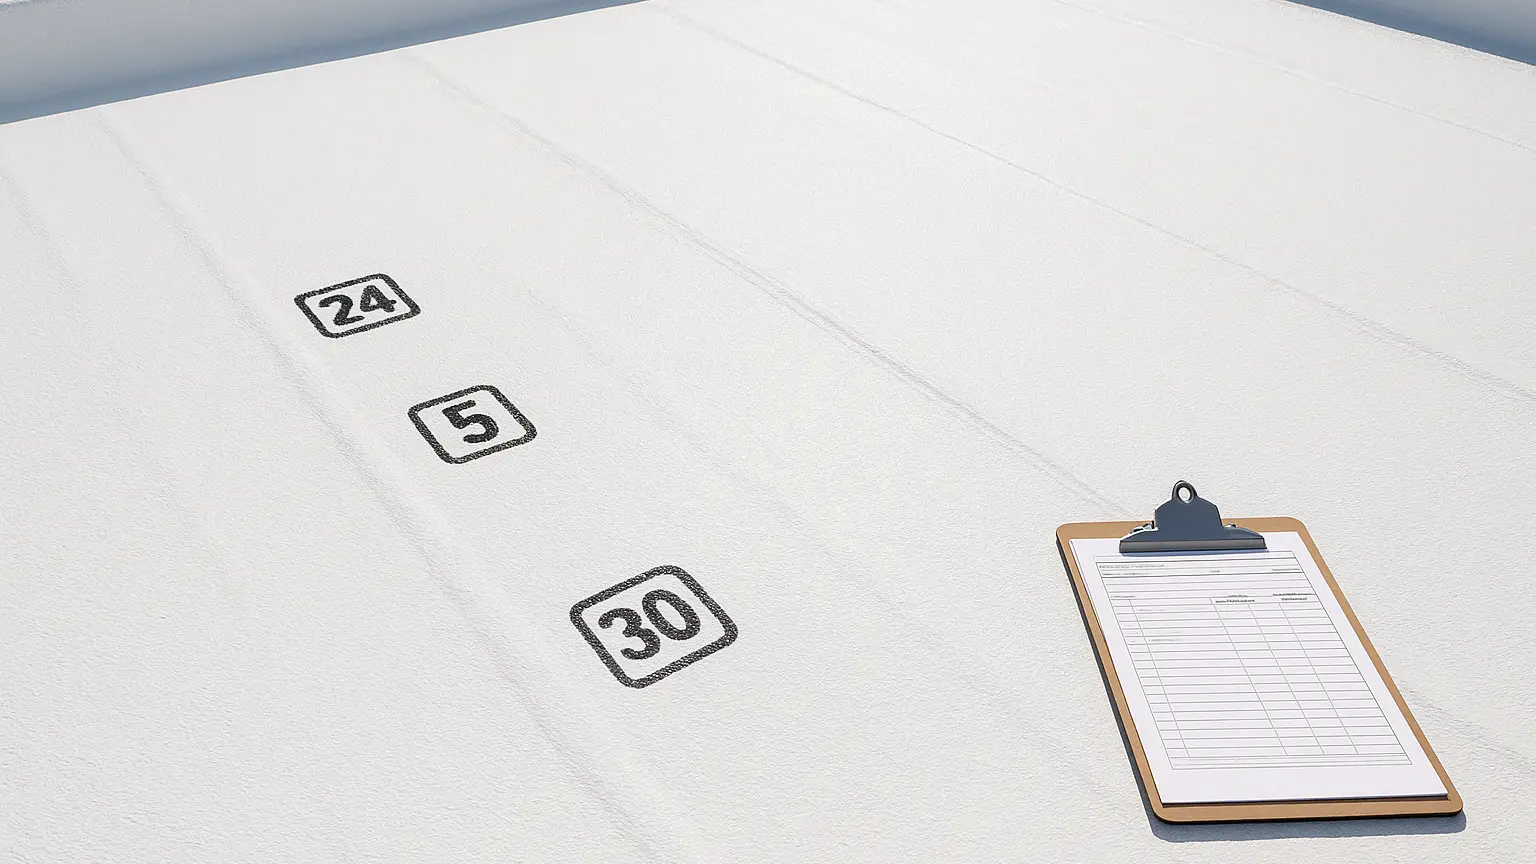
A properly installed foam roof does not have a fixed expiration date. It has a coating schedule. Follow it and the foam underneath can outlast the mortgage. Ignore it and you land back at square one in a decade.
Your Ongoing Checklist
- Twice a year: walk the perimeter from the ground, look for staining, debris piles, and blocked scuppers
- Annually: a professional inspection focused on penetrations, seams, and granule loss
- After any hail or high wind: a quick check for punctures and impact marks
- Every five years: spot repairs, caulk refresh at flashings, and a coating thickness read
- Every ten to fifteen years: a full recoat, which is far cheaper than a replacement
The recoat is the whole point. Because the foam stays intact, it is a wash, prime, and two-coat refresh rather than a tear-off. Contractors who work steadily on aging desert homes, including the crews at Durafoam, point to that scheduled recoat as the dividing line between homeowners who replace once and homeowners who replace repeatedly. Write the recoat year inside your electrical panel door; it is the reminder that survives changes in phone numbers, contractors, and even owners.
Closing the Loop on a Roof That Almost Failed
The arc across these three parts has been simple. You learned to read the surface: the chalking, the blisters, the pinholes, the exposed yellow foam that says the clock is running. You weighed recoat against replacement using moisture readings instead of guesswork, because the cost curve gets steep once saturation spreads through the assembly. Now you know what the crew is doing up there: why deck repair comes before spray, why slope correction matters more than thickness, and why a coating that cures dry is worth waiting a day for.
Handled well, foam is seamless, insulating, and renewable without ever being torn off again. Handled poorly, it quietly soaks up water until the framing pays the bill. Get the foam down while the weather cooperates, keep the photos, mark the recoat year, and let the next twenty-five years be uneventful.